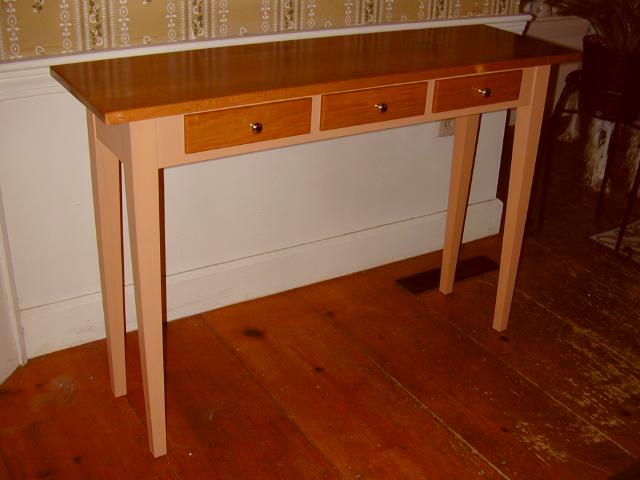
My oldest daughter wanted a sofa table to match the lamp
tables. The tabletop is cherry and the apron and legs are white birch.
Joinery is mortise and tenon. I made the mortises with my Shop Fox Mortiser and
the tenons on my table saw using my Jet tenoning jig.
The tops are attached to the base utilizing hardwood "L" brackets set
into a slot on the inside of the apron. To make the "L" brackets I simply
cut 1" square blocks of wood and used my biscuit joiner to slot both the block
and the table apron. I then glued a biscuit into each block slot leaving half of
the biscuit exposed. To install them I simply placed them on the underside of the
table top and lined them up so about half of the exposed biscuit was in the apron
slot, then I screwed them to the table top.
The legs are laminated to form a 1.75" leg and then tapered utilizing an inexpensive
aluminum tapering jig. This time when I used the jig I carpet taped a piece of 1/4"
hardboard which was 6" wide and the length of the jig to the underside of the
jig. This made a sled. I then secured each leg to both the sled and the jig using
carpet tape. This made for a much safer and easier tapering of the legs.
Finish: The cherry tops have one coat of natural Watco and about 3 coats of Minwax
wipe-on poly. I also gave them about 4 hours each of exposure to the sun before
finishing.
The apron and legs are finished with 50/50 Pumpkin and White milk paint from The Old Fashioned Milk Paint Company
and sealed with a clear latex poly.
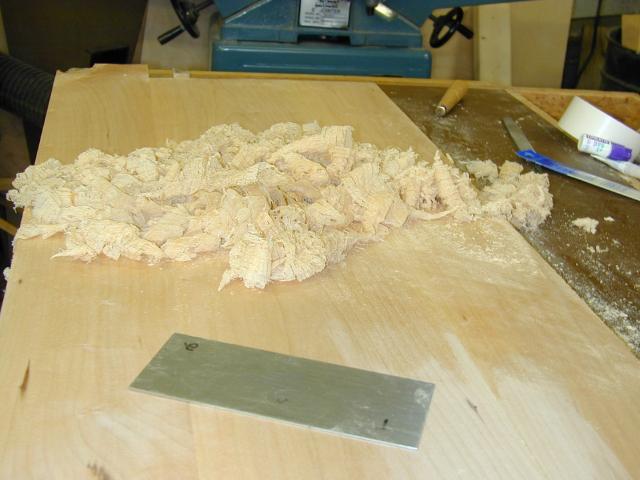
At left you can see me working on the top. I like to scrape it flat with my hand
scraper then give it a light sanding with my ROS and 220 grit paper followed by
hand sanding with the grain with 200 grit.

I made the front by ripping the board and then gluing it back together like a face
frame.
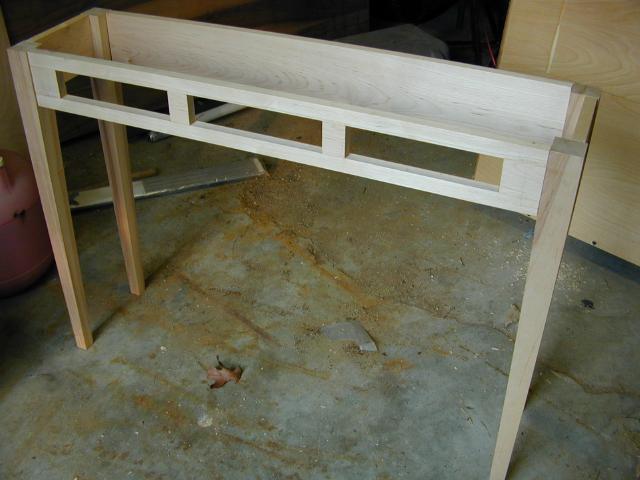
Here's the dry fit of the apron and legs.

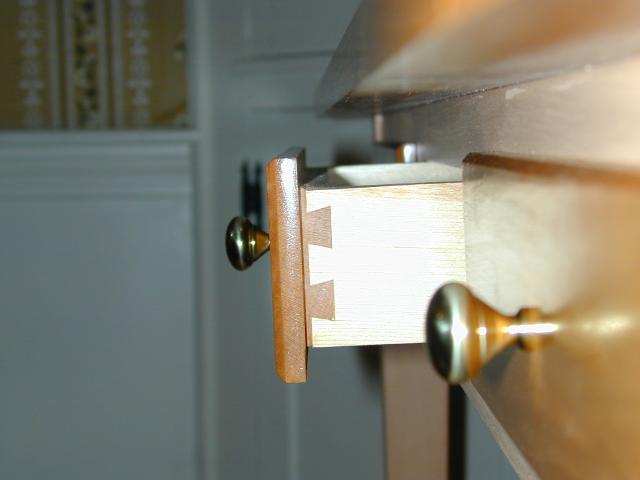
I tried something different here because the drawers were small and shouldn't get
much use. I made a spring to keep them centered and to allow for expansion and contraction.
Below are a couple of pictures of the table after glue up.


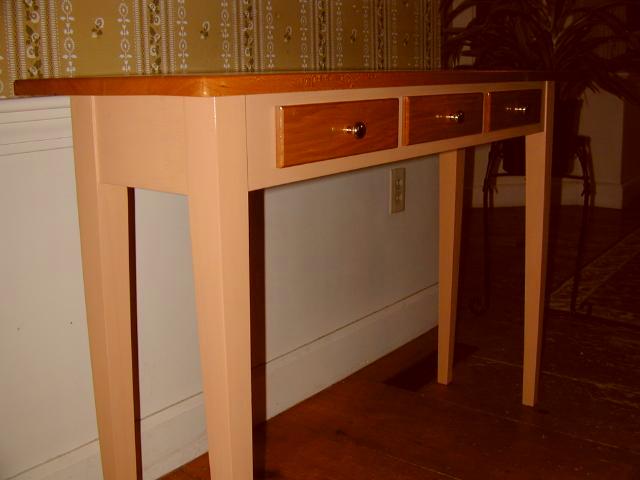
The next series of pictures are of the finished product. When I get some shots of
it in my daughters living room I'll post them. Thanks for looking.