DIY Zero Clearance Insert (ZCI)
for your Table Saw
by
1 Apr 2006
There are at least two ways to make a ZCI, using a table saw or a router and a pattern or flush cut bit. I prefer the table saw so that is what I'll describe here. You can click on any image to enlarge.
Using a Table Saw
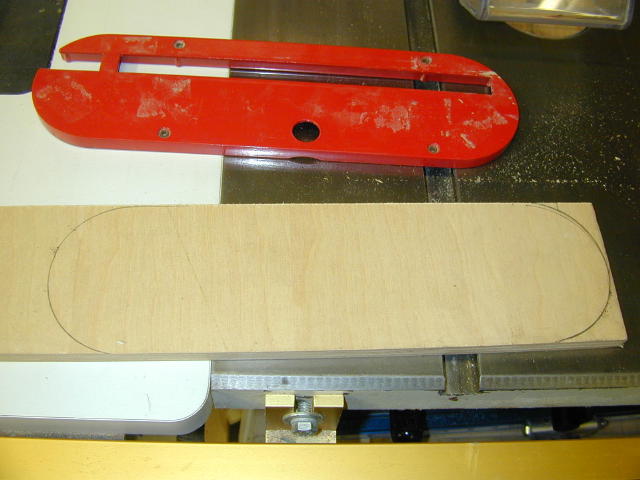
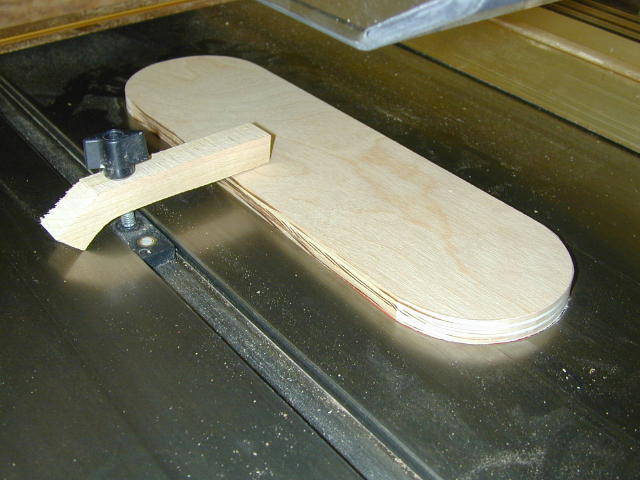
The first thing I do is set my fence for a rip of the ZCI material. I usually use either 1/2" MDF or plywood. I set my fence using the OEM insert (Pic left) but you can also just measure the insert and set your fence that way.
Once I rip the piece, and I usually make about 6 at a time, I again use the OEM insert as a template and trace the curves at each end (pic right).
 The
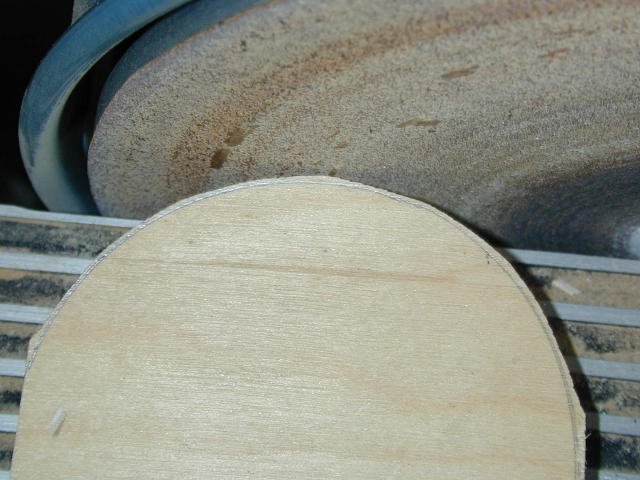
next step is to take the pieces over to the band saw and cut them close to the
traced lines. Once that's complete I take the pieces to the disk sander
and sand them to the lines, and then to fit.
The
next step is to take the pieces over to the band saw and cut them close to the
traced lines. Once that's complete I take the pieces to the disk sander
and sand them to the lines, and then to fit.
|
Tip When Using a Router:
For those who want to use a router to make the insert here's a tip. Make a thin template which you can sandwich between the insert blank and your pattern...usually your OEM insert. This will allow the bearing to ride on the OEM insert and allow a bit of space so your cutter can make the whole cut without interference from the OEM insert.
Use double stick tape to secure the template and stock to your OEM insert.
|
 If
you were to try to make the kerf cut in the insert now you would likely find out
that your blade does not lower enough to fully seat the ZCI. That problem
is easily remedied.
If
you were to try to make the kerf cut in the insert now you would likely find out
that your blade does not lower enough to fully seat the ZCI. That problem
is easily remedied.
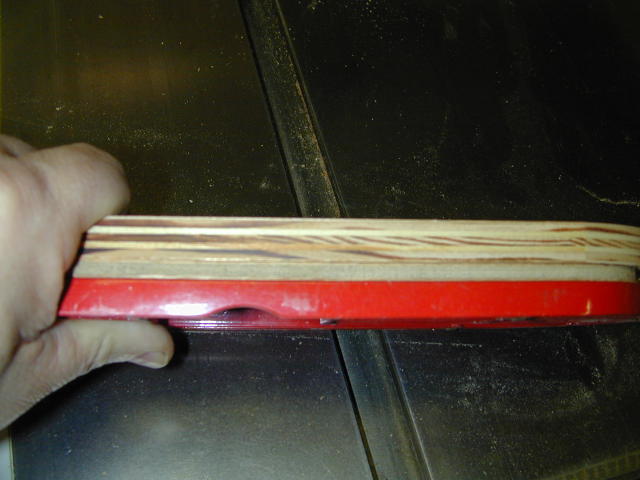
Back off your leveling screws in your OEM
insert and place it in the saw. You will now notice that the OEM insert
has lowered enough to provide a recess for your ZCI blank (pic left).
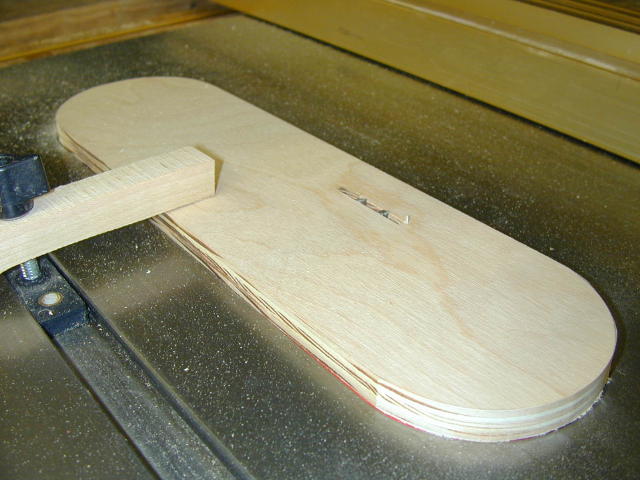
Place the ZCI blank onto the recess and it should be securely registered for
position. Clamp it in place and your ready to make the initial kerf cut.
I use the Micro Jig stop blocks to make the
clamp
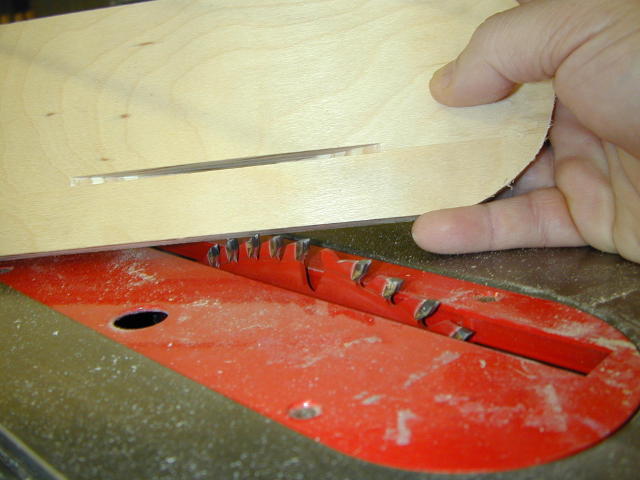
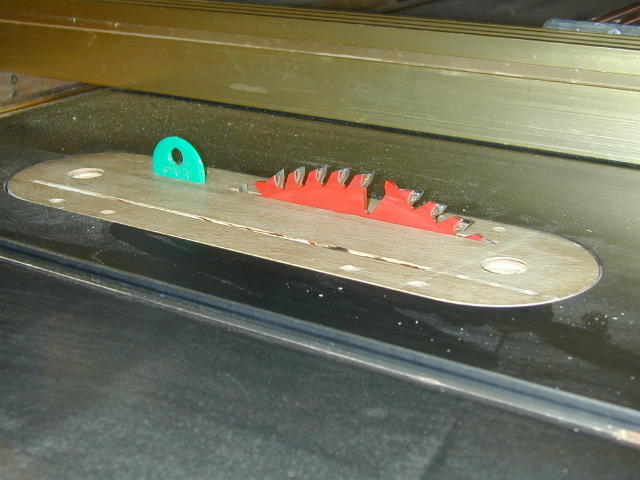
Making sure that the blade is not in contact
with the insert blank, turn on the saw and raise the blade slowly into the
insert until it just breaks the surface (left). The result is a kerf which
will allow you to remove the OEM insert and place your new ZCI into the saw to
finish the kerf cut.
Before we finish the cut let me describe what you should do to make your splitter most effective.
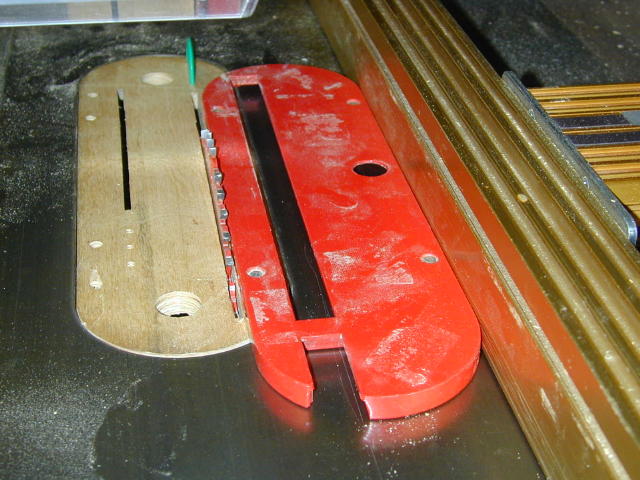
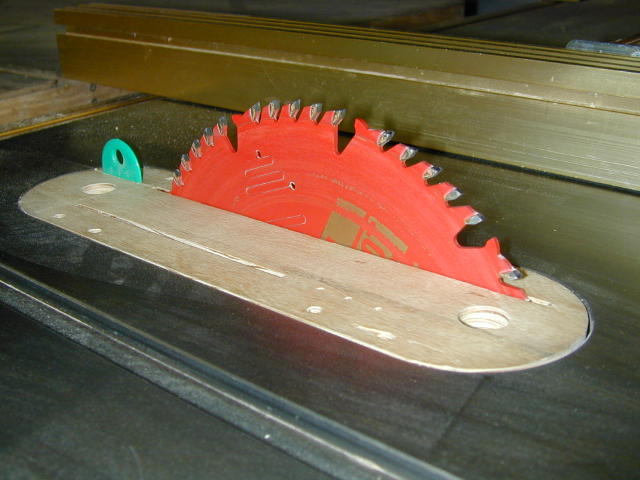
With splitters like the MJ Splitter shown here, or your home made ones, they work best when they are close to the back side of the blade. In the photos at left and right you can see that the way I make my ZCI's my splitter is close to the back of the blade when the blade is fully raised and when it is at the 4/4 cutting height.

 I
accomplish this by raising the blade only to the desired cutting height when I
make the kerf cut in the ZCI. That way I can install my splitter close to
the blade.
I
accomplish this by raising the blade only to the desired cutting height when I
make the kerf cut in the ZCI. That way I can install my splitter close to
the blade.
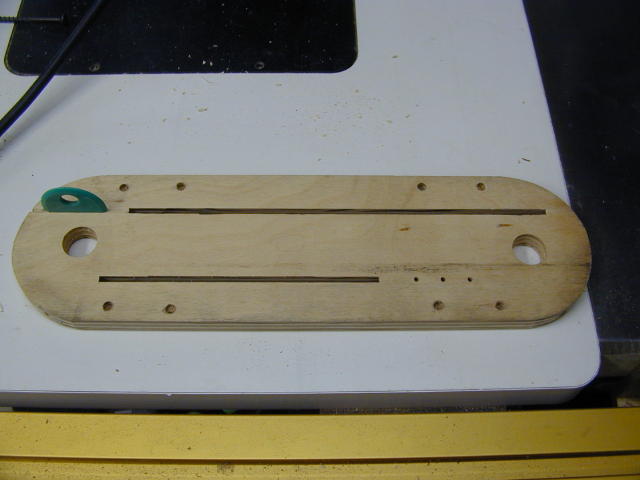
To make the cuts I first raise the blade only high enough to cut a 4/4 board. Then I remove the ZCI, rotate it and replace it. I next make the second kerf cut by raising the blade to the desired cutting height, usually full height. Each ZCI I make now has two kerfs and splitter installations.
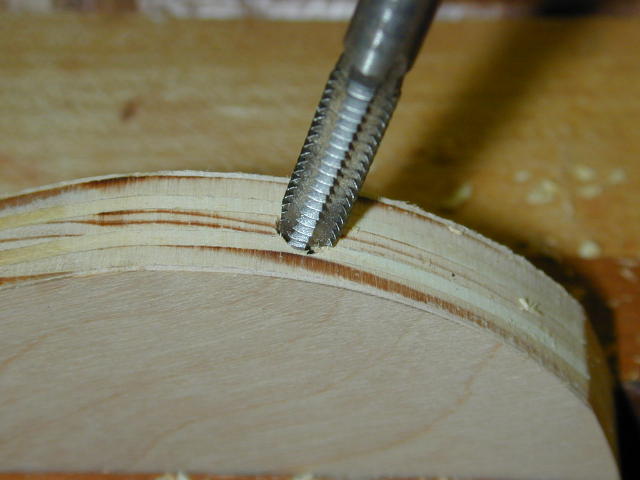
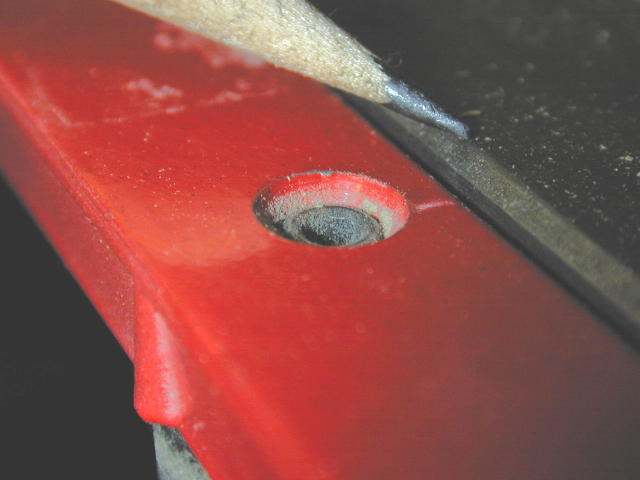
What I like to do next is tap a hole (left)
for a 1/4-20 nylon set screw that I will use to adjust fit. I normally
place one on the curve on the back side of the insert. If the insert is
too loose I can insert the screw and adjust it for a tight fit (right).
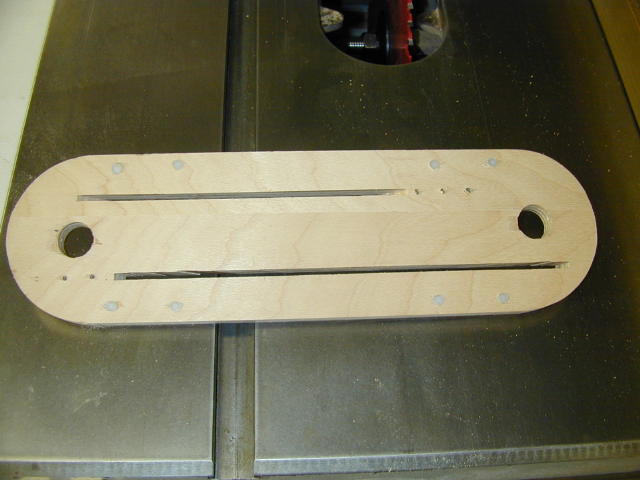
One of the last things you need to do is to install the leveling screws. Since the tabs in my Jet aren't symmetrical, when I rotate the ZCI the screws no longer line up with the pads so I have to install two sets of leveling screws per insert (left). Again I just drill and tap a 1/4-20 hole and use Nylon screws though metal ones will work fine.
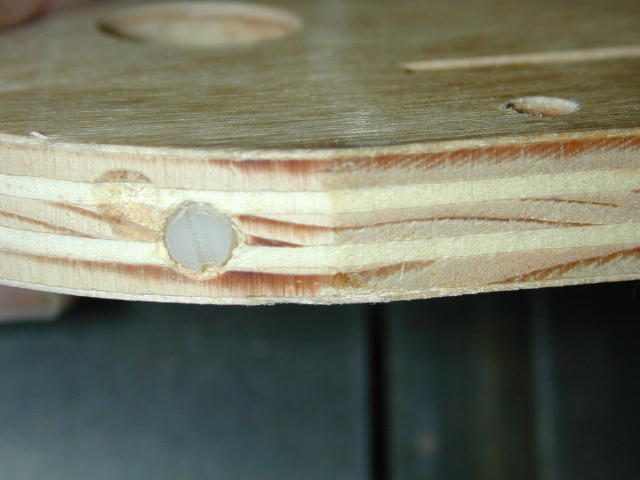
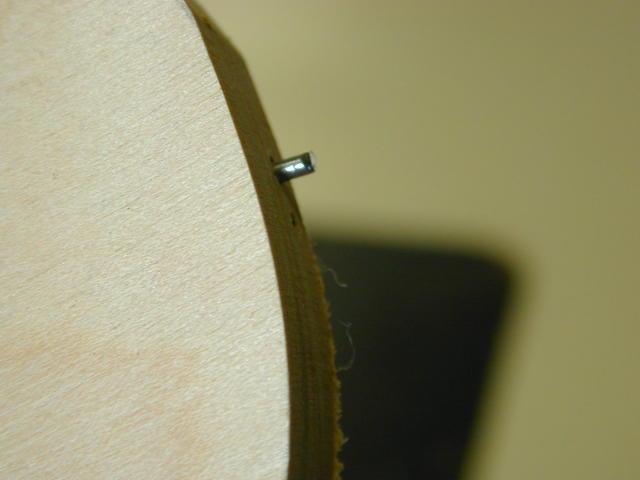
Lastly, if your saw supports it, you can
install a pin at the apex of the curve at the rear of the insert. I
usually just hammer in a brad and then clip it off. This pin (right) will
hook into a recess in your saw's throat and prevent it from being lifted out of
the throat by the blade.
back to Bill-e's
Woodworking Page