based on the
Rockler Heritage Cradle
My oldest daughter who seems to be the recipient of all my furniture projects
was expecting her first child and my first grandchild. She never new what cherry
looked like until I started making furniture and now she'll have nothing less.
I told her to surf the web for a cradle style which she liked and she pointed me
to the Rockler
Heritage Cradle plans, which I ordered.
In the title I state that my cradle is based on the Rockler plans and that is because
I changed the joinery and panels. The rockler plans uses screws to attach the side
rails to the head/foot boards and the strecher to the legs. It also constructs
the head/foot boards in frame and panel construction. I opted for solid construction
and through mortise and tenon for the rails and pinned M&T for the strecher.
I made the mortises with my Shop Fox Mortiser and the tenons on my table saw using
my Freud SD206 dado set..
Finish: The cherry was given 2 coats of natural Watco and 2 coats of Minwax wipe-on
poly. Final sanding to 600 and a coat of paste wax.
Unfortunately I didnt document it with pictures very well.
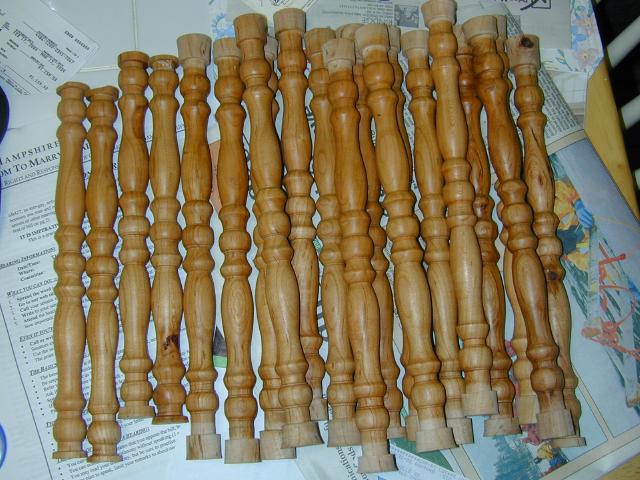 At
right you can see the first weekends work on spindles. I made 35 in all and used
30. I made them by transferring the transition points to the blank and turning
them by eye. Towards the end I was going from blank to varnish in less than 20
minutes. I could only work about 4 hours a day on them before my neck got stiff.
At
right you can see the first weekends work on spindles. I made 35 in all and used
30. I made them by transferring the transition points to the blank and turning
them by eye. Towards the end I was going from blank to varnish in less than 20
minutes. I could only work about 4 hours a day on them before my neck got stiff.
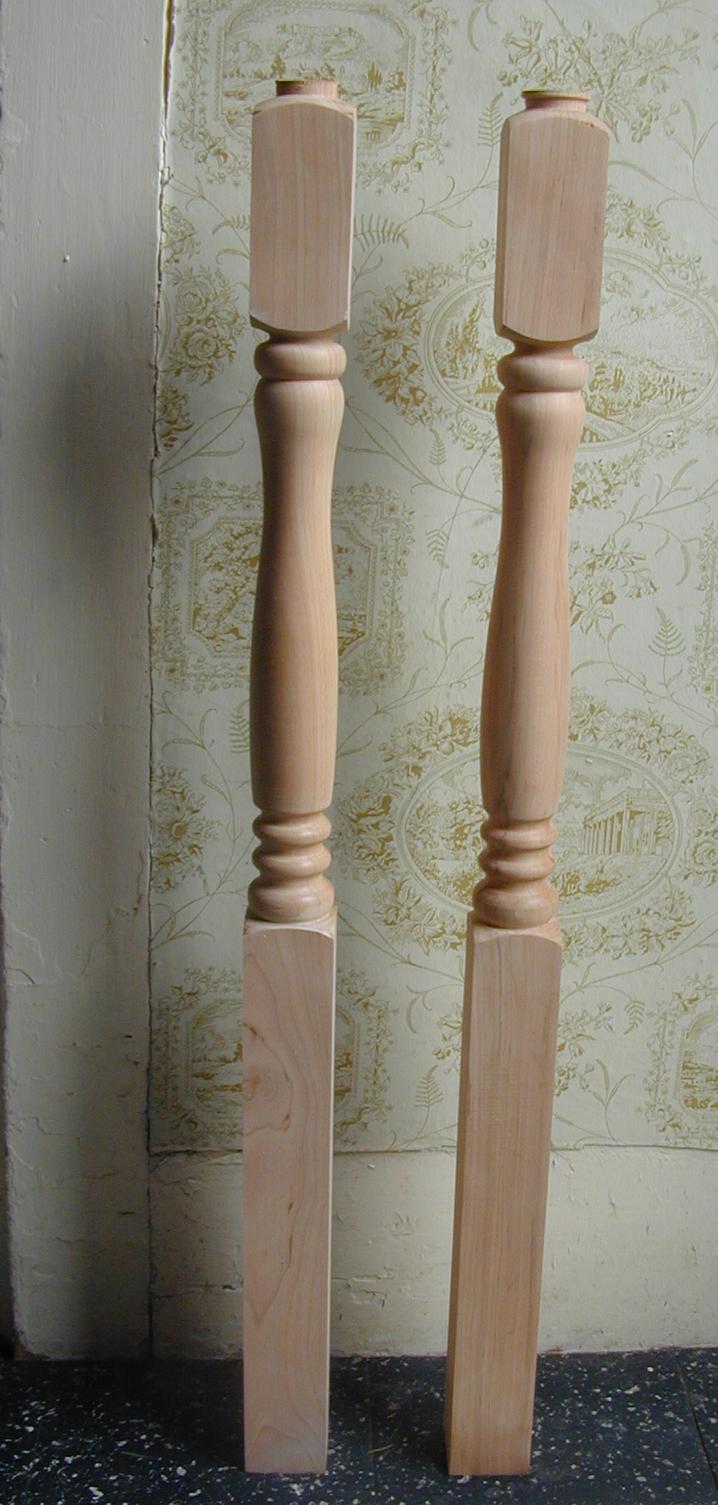 I
made the legs by laminating 3 pieces of cherry to get the 2.5" thickness.
Since the legs were to be 36" long and my lathe only goes to 34, I had to make
finials separately. At left are the legs right off the lathe and right is the finished
leg assembly minus the finials. The foot members are M&T as well.
I
made the legs by laminating 3 pieces of cherry to get the 2.5" thickness.
Since the legs were to be 36" long and my lathe only goes to 34, I had to make
finials separately. At left are the legs right off the lathe and right is the finished
leg assembly minus the finials. The foot members are M&T as well.
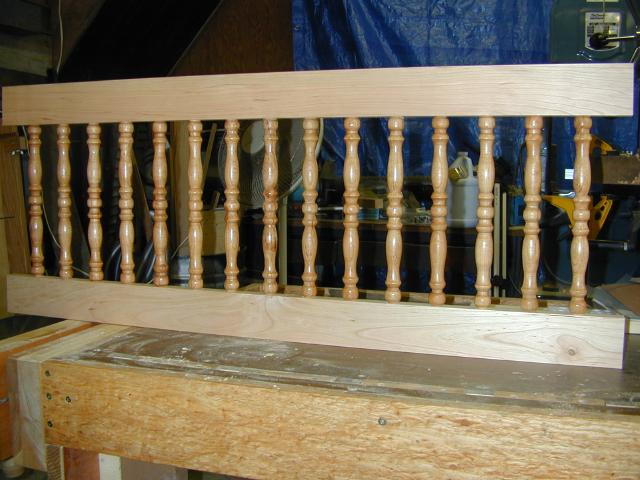
Here's the dry fit of the spindles and rails.
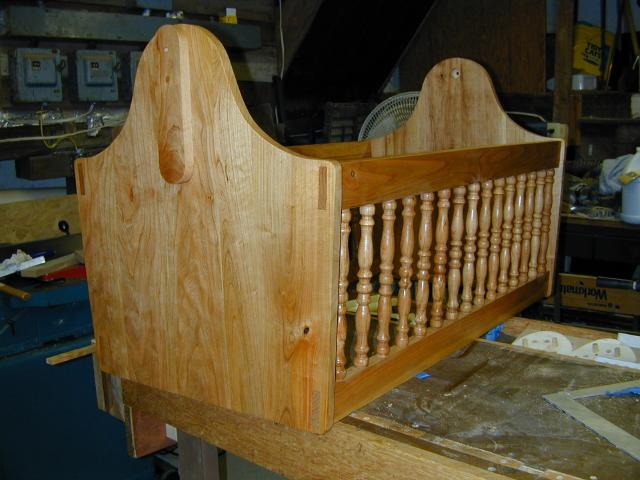
Here at left the spindles have been glued into the rails and I'm dry fitting the
rails and their through M&T with the unfinished headboards..
At right everything's glued and coated with oil.
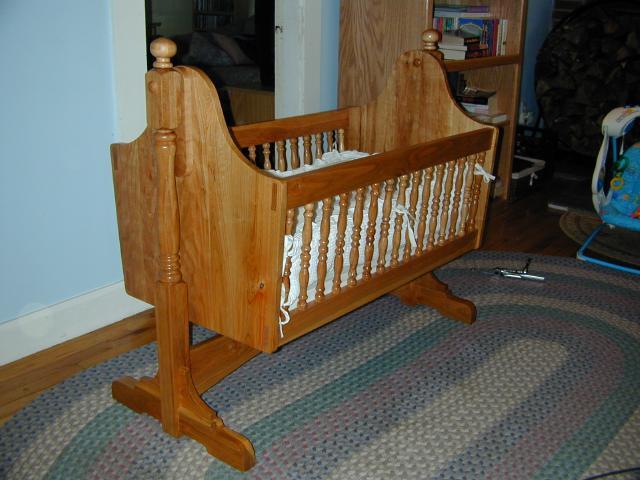
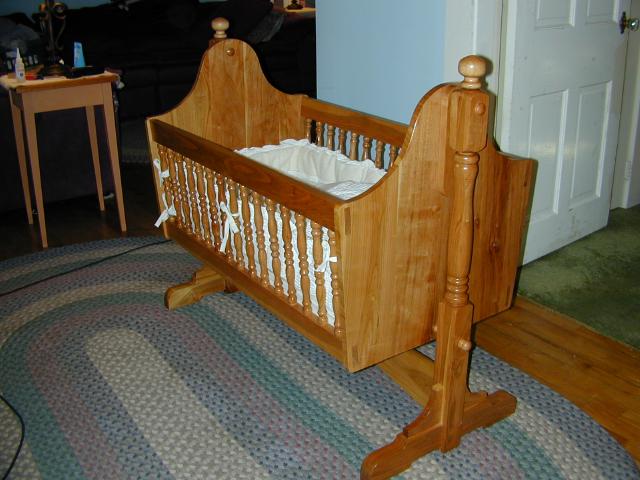
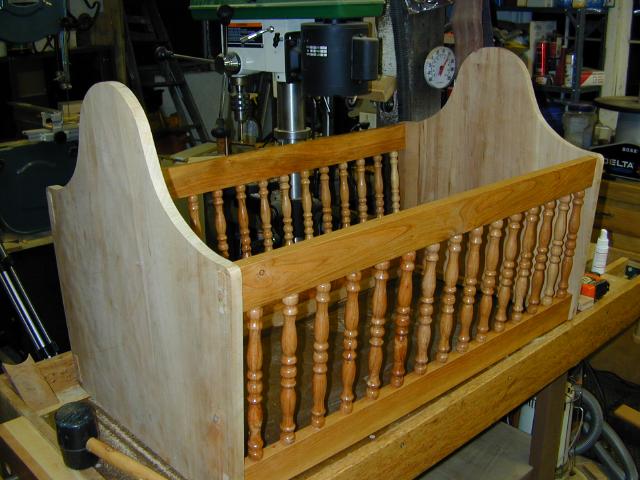
Below are a couple of pictures of the complete cradle after glue up, oiled but before
poly (still minus finials).

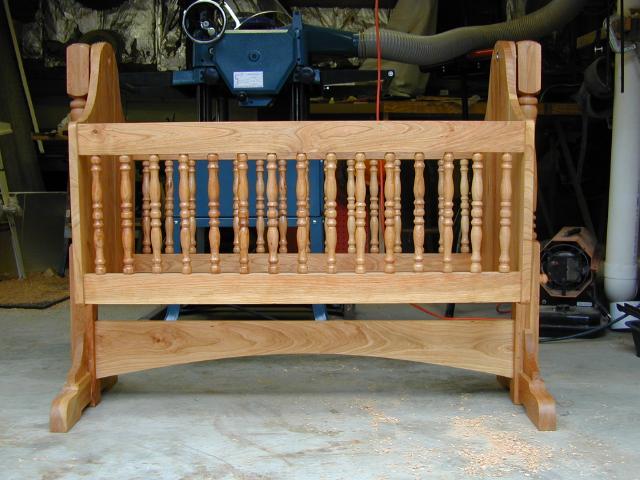
The next series of pictures are of the finished product. Thanks for looking.