This is just a place holder for some pics until I finish and an write it up.
These end tables are for my middle girl. They are kind of a simple contemporary
design I borrowed from a friend. I used the last of my cherry so I had some difficulty
grain matching.
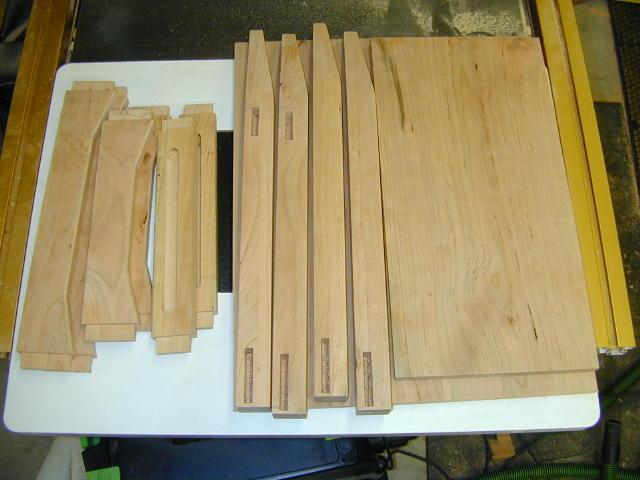
All the parts for one table. The only machining left to do are the beveled edges.
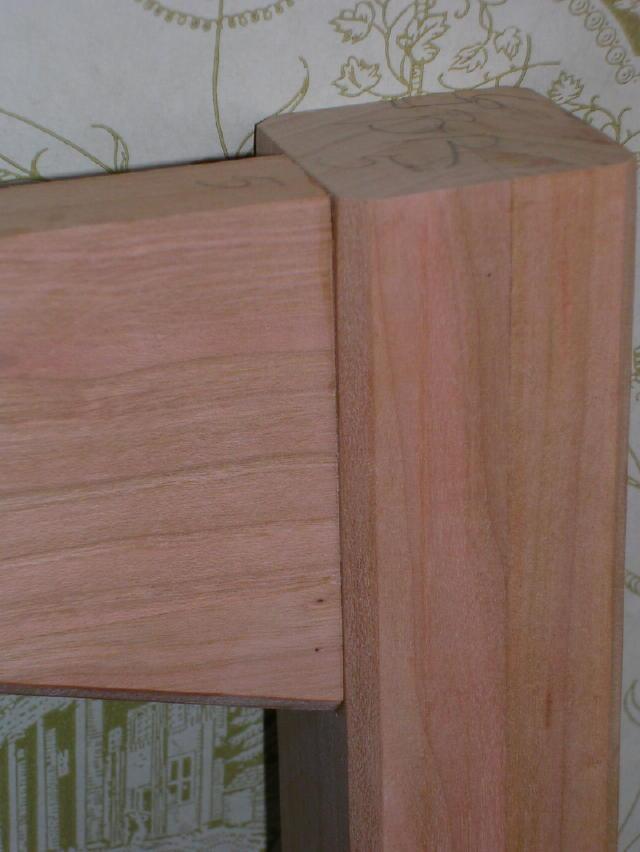
Each table has twelve mortise and tenon joints and two dados. The mortises were
cut with my Shop Fox Mortiser and the tenons on the tablesaw using a tenoning jig.
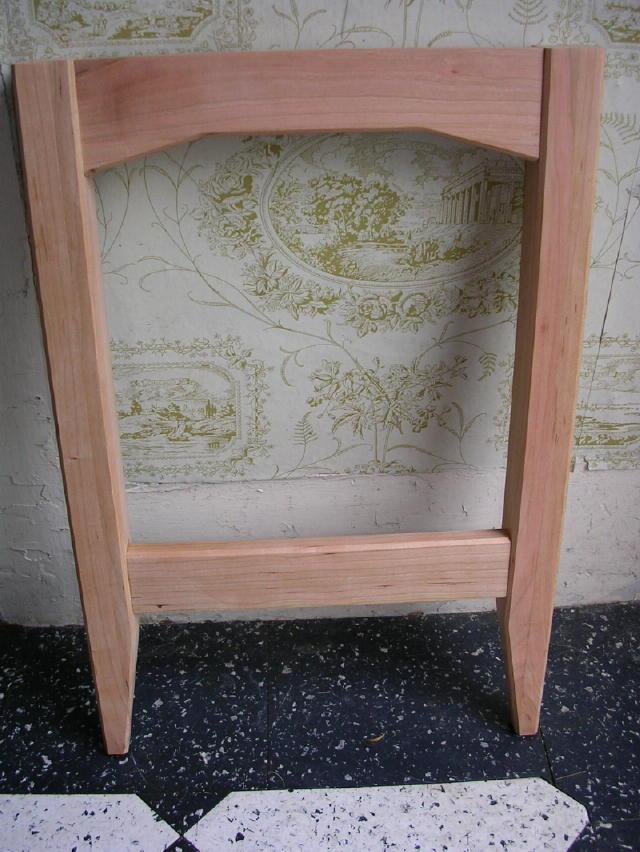
Each leg assembly was glued up first.
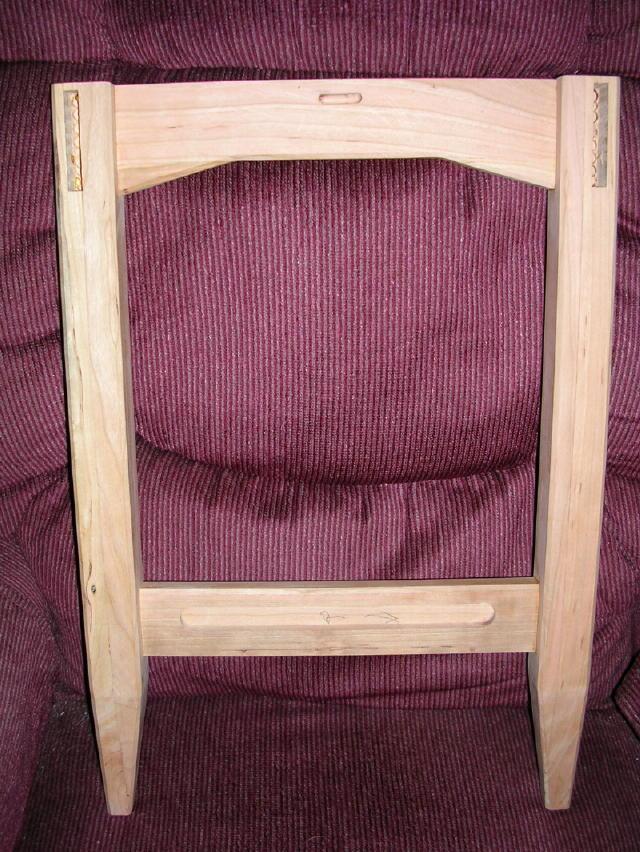
I thought it would be too difficult to try to make the rails for the apron out of
one piece so the rails were constructed out of 3 pieces, the rail and the two wedges.
The key to a good fitting joint is careful dry fits and tuning. I used my Lee Valley
shoulder plane on some of the tenons to fine tune them.
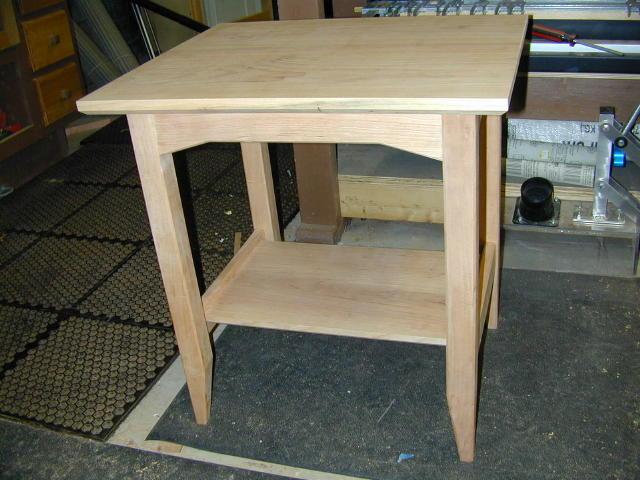
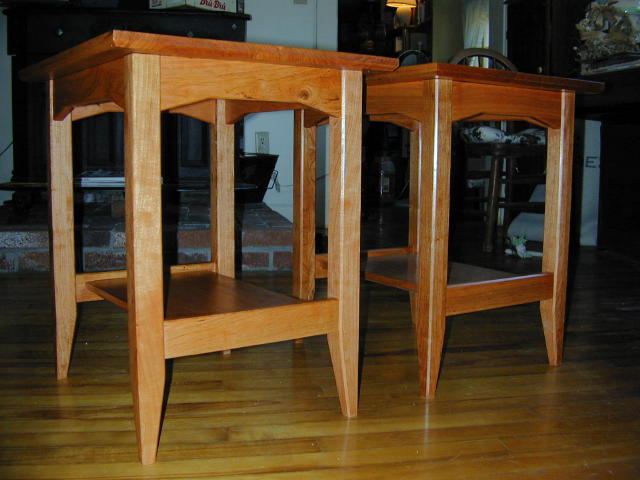
Here's the first table glued up and ready for finish.
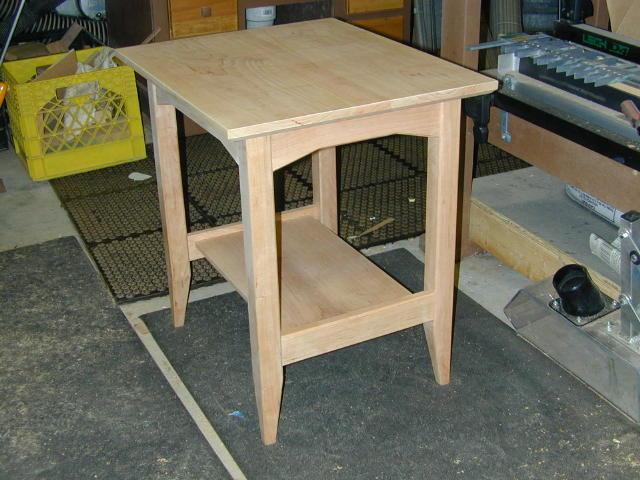
Another view. Legs are tapered using a tablesaw tapering jig.
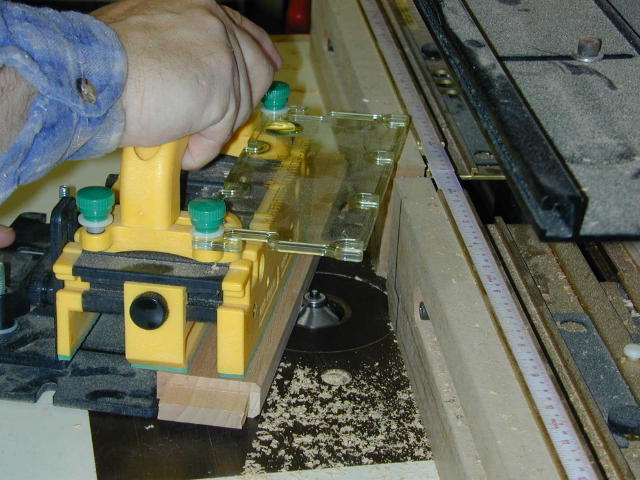
All the bevels were made on the router table with a 45° bevel bit.
My daughter didn't want to wait for this rather light cherry to age so I had to
darken it up a bit. I sanded to 220 and them wiped on a coat of Watco Cherry and
immediately rubbed it off until I got the desired color. Next I flooded the wood
with Watco natural. Once the Watco was dried I gave he table a few coats of Minwax
wipe on poly.
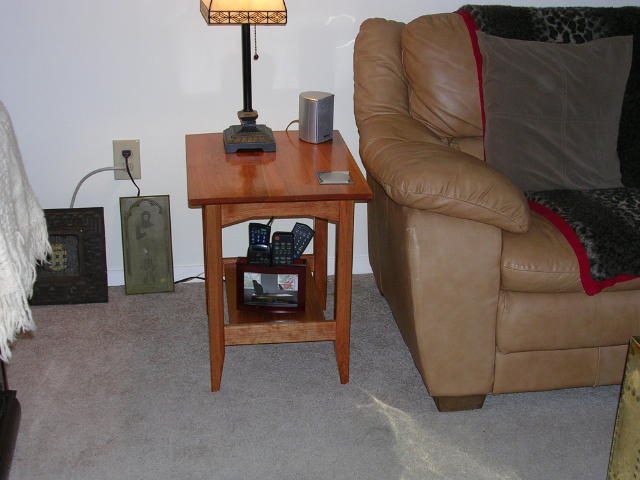
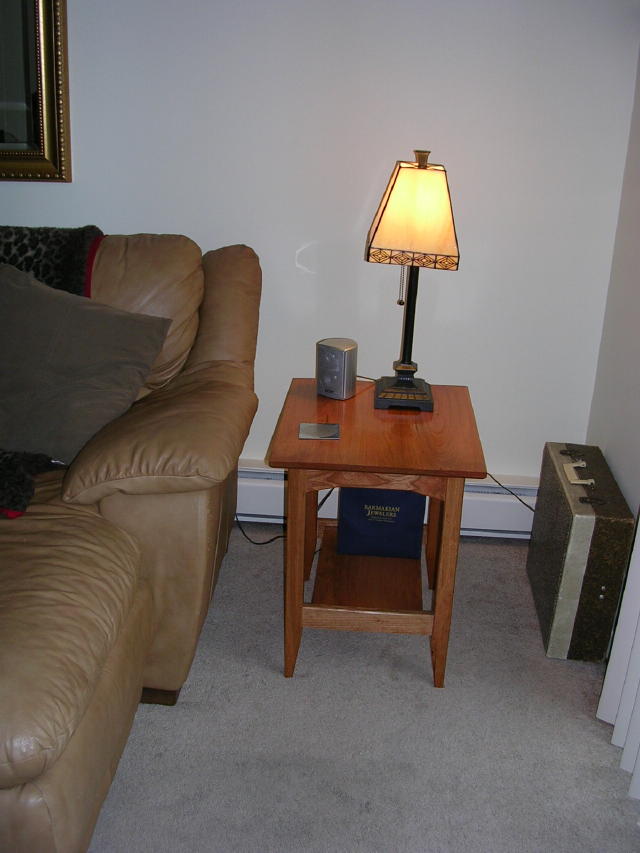
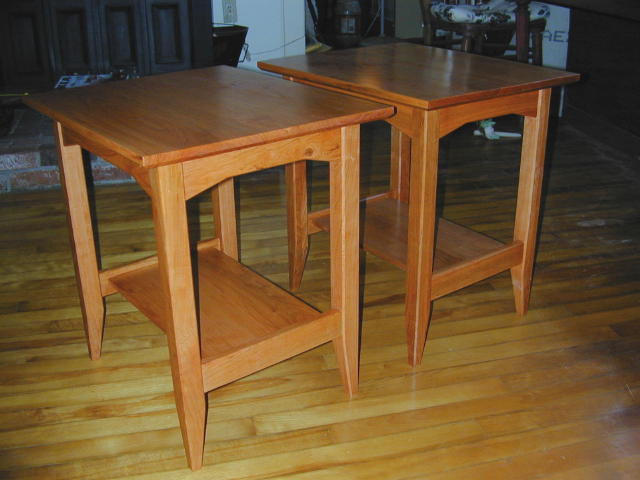
Here are the completed tables
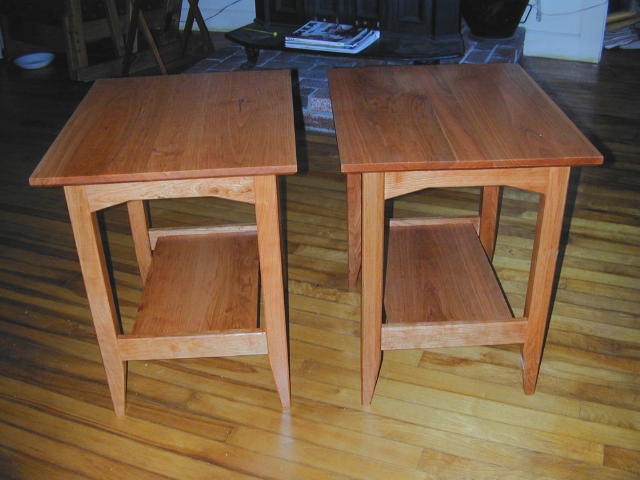
Here they are in place. I built these from their desired dimensions. Had I seen
the new place first, I would have suggested a larger size.